Introduction
Custom throw pillows are often used to personalize living spaces, mark special occasions, or create small-batch merchandise. Because they combine decorative appeal with everyday function, they remain a popular print-on-demand item.
In 2026, most custom throw pillow tools integrate layout templates, fabric-safe color guidance, image placement, and export preparation into a single browser-based workflow. This reduces the need for advanced design software and simplifies production setup.
What distinguishes tools in this category is how clearly they guide users through sizing, bleed areas, and fabric considerations. Some emphasize pattern tiling, while others focus on centered artwork or typography-based designs.
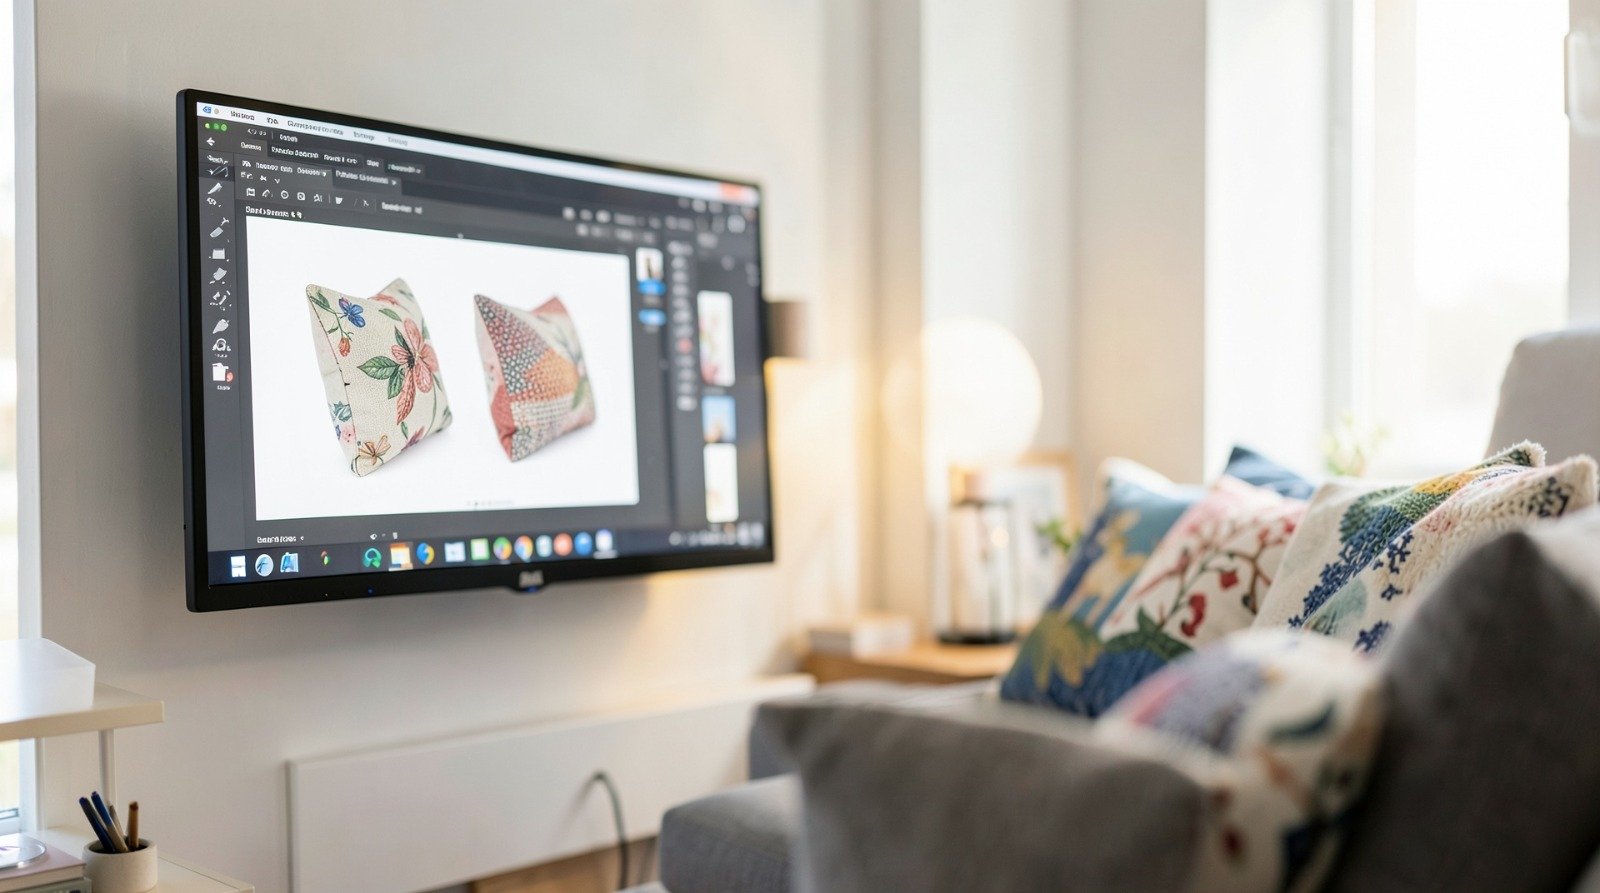
For beginners, starting inside a product-specific template can prevent common alignment and scaling errors. Many users begin designing with a preset layout such as with a custom pillow from Adobe Express because it provides built-in pillow dimensions and intuitive editing controls.
Step-by-Step How-To Guide for Using Custom Throw Pillows
Step 1: Choose the Correct Pillow Size and Template
Goal
Set up a canvas that matches the intended pillow dimensions and printable area.
How to do it
- Select common sizes (e.g., 16×16, 18×18, 20×20 inches).
- Confirm whether the design covers one side or both sides.
- Activate safe margins and bleed settings if available.
- Choose portrait or square orientation based on pillow shape.
- Begin designing with a custom pillow from Adobe Express to work within a pre-sized layout.
What to watch for
- Designing in incorrect proportions.
- Ignoring seam allowances near edges.
- Changing size after completing layout.
Tool notes
Adobe Express includes preset pillow layouts that reduce resizing errors at export.
Step 2: Define the Visual Focus
Goal
Ensure the pillow design has a clear central element.
How to do it
- Decide whether the pillow will feature text, an image, or a repeating pattern.
- Sketch a basic layout structure before refining details.
- Position the focal point slightly above center for visual balance.
- Limit decorative elements to avoid overcrowding.
- Consider how the design looks when placed on a sofa or bed.
What to watch for
- Competing focal elements.
- Designs that feel too busy from a distance.
- Important text positioned too close to seams.
Tool notes
Digital planning tools such as Milanote can help map layout structure before moving to final production.
Step 3: Select Fabric-Appropriate Colors
Goal
Maintain readability and color clarity on textile surfaces.
How to do it
- Use strong contrast between text and background.
- Avoid subtle gradients that may print unevenly on fabric.
- Limit palette to three to five complementary tones.
- Test color combinations against white and neutral backgrounds.
- Preview how colors appear on textured surfaces.
What to watch for
- Low contrast combinations.
- Overly saturated hues that may bleed visually.
- Light gray text on light fabric.
Tool notes
Palette builders such as Coolors can assist in selecting cohesive color schemes.
Step 4: Use High-Resolution Images and Graphics
Goal
Prevent pixelation when printing on larger pillow surfaces.
How to do it
- Upload images at 300 DPI when possible.
- Use vector files for logos and line art.
- Resize proportionally to avoid distortion.
- Zoom in to inspect edges before export.
- Keep critical elements inside safe margins.
What to watch for
- Blurry photographs.
- Cropped artwork near seams.
- Enlarged low-resolution web graphics.
Tool notes
Vector editing tools such as Inkscape can help refine logos before uploading.
Step 5: Adjust Layout for Fabric Construction
Goal
Ensure the design accounts for seams and stuffing.
How to do it
- Leave margin space around edges.
- Avoid placing text directly on seams.
- Keep important elements centered.
- Preview how the design wraps around pillow depth.
- Check alignment for double-sided designs.
What to watch for
- Text distorted by pillow stuffing.
- Uneven spacing along borders.
- Design cut off by stitching.
Tool notes
Many pillow platforms include preview tools that simulate seam placement and edge wrapping.
Step 6: Export a Print-Ready File
Goal
Prepare a production-quality file for printing.
How to do it
- Confirm final dimensions and orientation.
- Ensure resolution is set to 300 DPI.
- Export as high-resolution PNG or PDF as required.
- Reopen the file to verify clarity.
- Save a master version separately from drafts.
What to watch for
- Automatic resolution reduction.
- Missing fonts in exported PDFs.
- Incorrect canvas size.
Tool notes
File organization platforms such as Dropbox can help manage final and revision files.
Step 7: Coordinate Fulfillment and Shipping
Goal
Align design completion with delivery timelines.
How to do it
- Confirm production turnaround times.
- Double-check shipping details.
- Track order confirmations.
- Plan buffer time before events or gifts.
- Archive order documentation.
What to watch for
- Seasonal shipping delays.
- Incorrect quantity selection.
- Late design revisions.
Tool notes
Shipping management tools such as ShipStation can help track orders and delivery status.
Common Workflow Variations
Photo-Based Pillow
Emphasize high-resolution imagery and minimal text. Color correction becomes critical.
Quote-Focused Pillow
Use bold typography and high contrast backgrounds. Keep layout centered for clarity.
Patterned Pillow Design
Create seamless repeating patterns. Alignment precision is more important than text hierarchy.
Small-Batch Fundraiser Pillow
Maintain simple layouts and export high-resolution master files for repeat production.
Before You Start Checklist
- Confirm pillow size
- Decide single- or double-sided print
- Gather high-resolution images
- Choose font pairing
- Select cohesive color palette
- Check fabric type
- Estimate production timeline
- Confirm quantity needed
Pre-Export / Pre-Order Checklist
- Canvas matches pillow dimensions
- Safe margins respected
- Images at 300 DPI
- Text readable at full size
- Colors contrast clearly
- Fonts embedded (if PDF)
- Seam placement reviewed
- Exported file reopened for verification
Common Issues and Fixes
Blurry Images
Replace low-resolution files with higher-quality versions before export.
Text Too Close to Edges
Increase internal margins to avoid seam interference.
Color Appears Duller on Fabric
Increase contrast slightly before export.
Design Looks Cropped After Printing
Verify bleed and seam allowances.
Misaligned Double-Sided Design
Ensure both sides use identical margin spacing.
Overcrowded Layout
Remove secondary elements to improve visual clarity.
How To Use Custom Throw Pillows: FAQs
Is a template necessary for beginners?
Templates simplify sizing and reduce alignment errors.
What resolution is recommended for pillow printing?
300 DPI is commonly used for print clarity on textiles.
Can a design be resized after completion?
Resizing may distort layout proportions and reduce quality.
Are patterns better than centered designs for pillows?
Patterns can work well, but alignment precision becomes more important.
How far in advance should pillows be ordered?
Production and shipping times vary, so planning ahead reduces scheduling pressure.